Recipe in pictures,
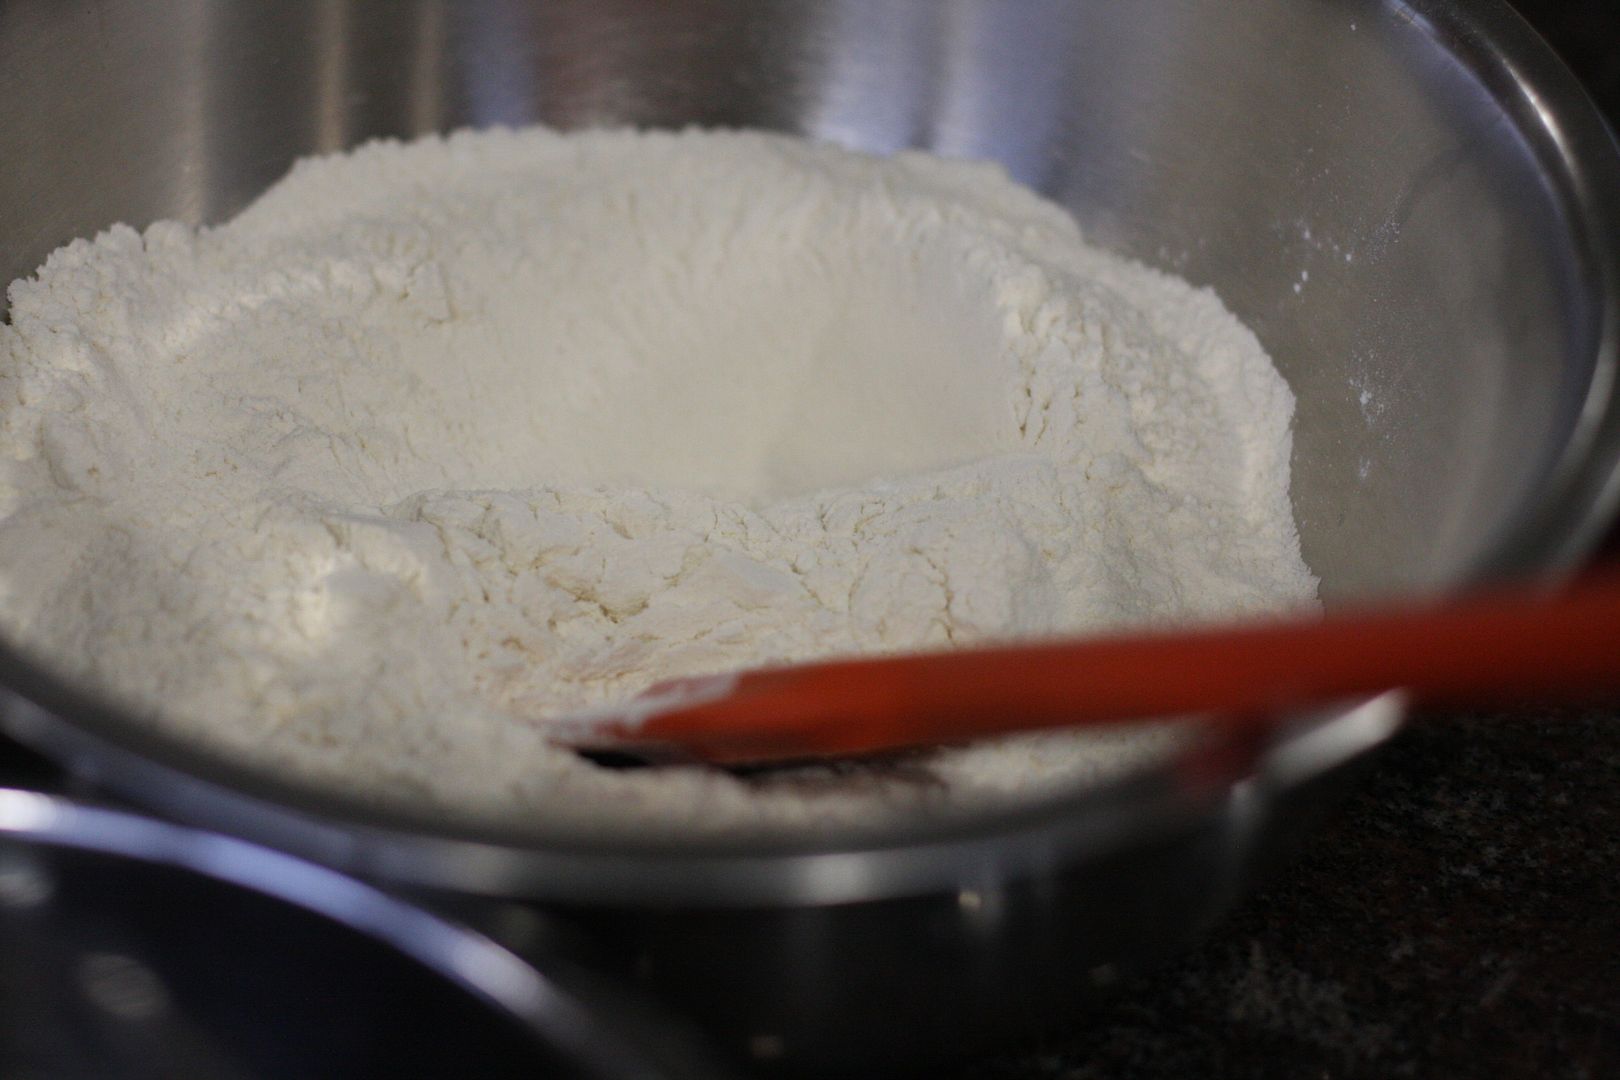 | 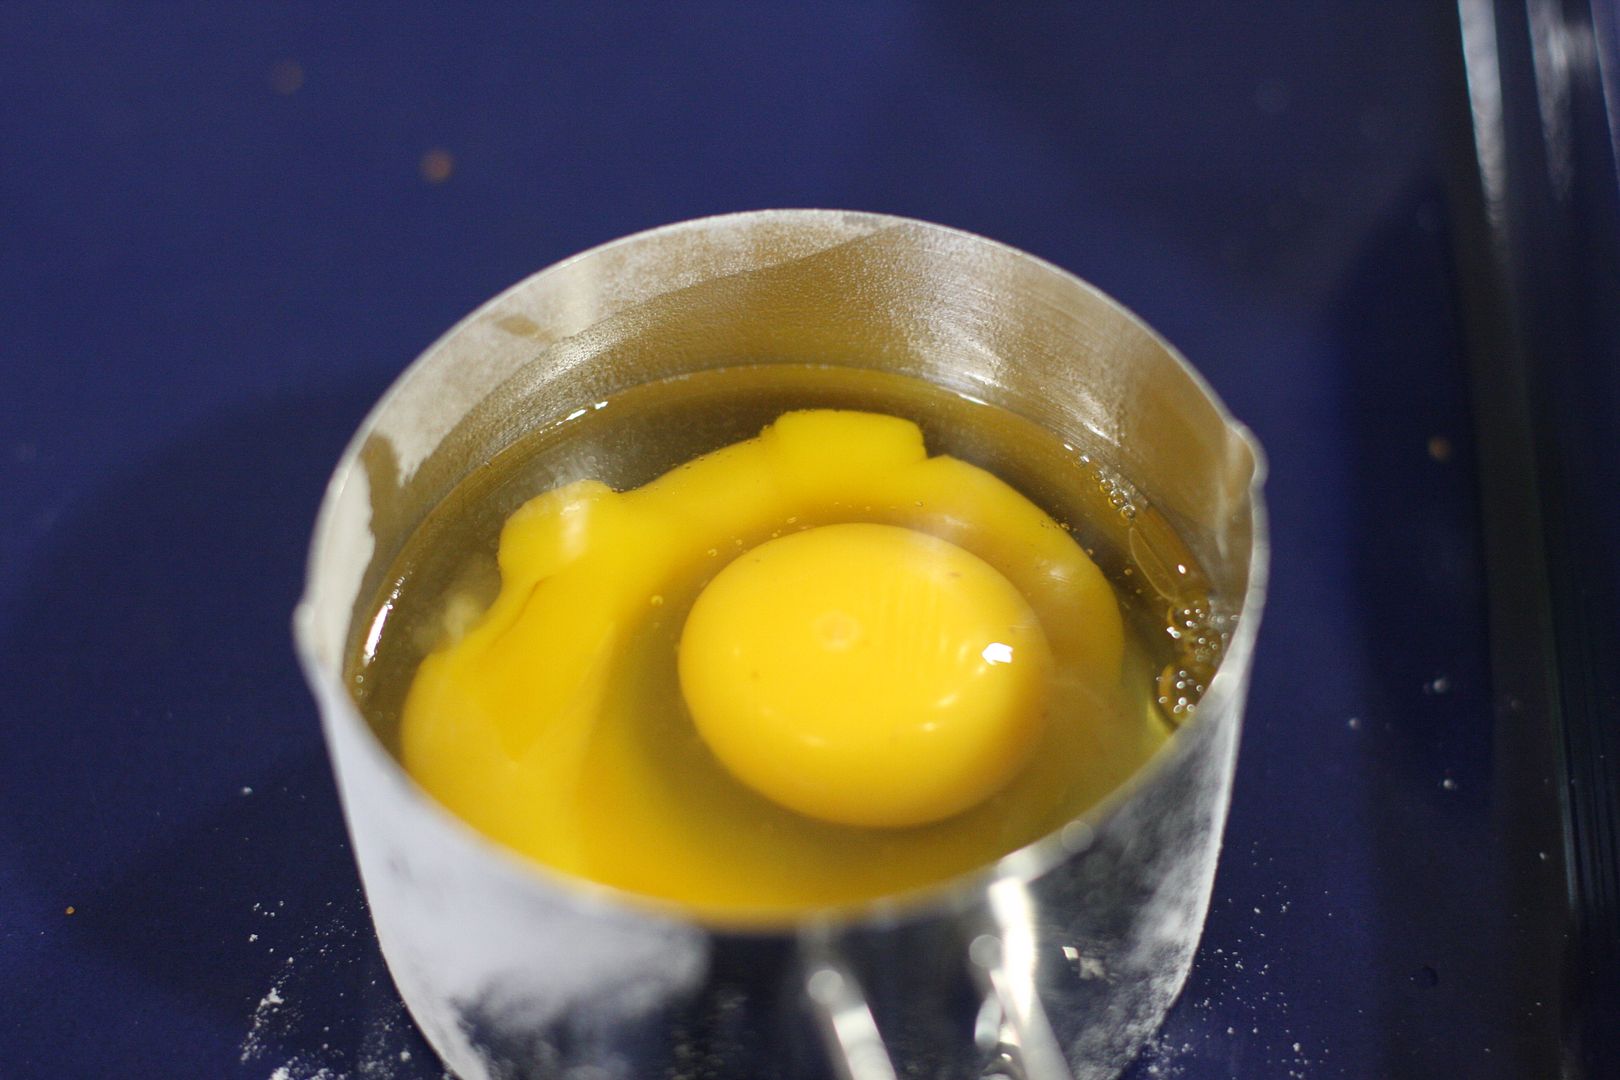 |
| Seive and whisk together flour, baking powder and baking soda. Get the eggs ready. | |
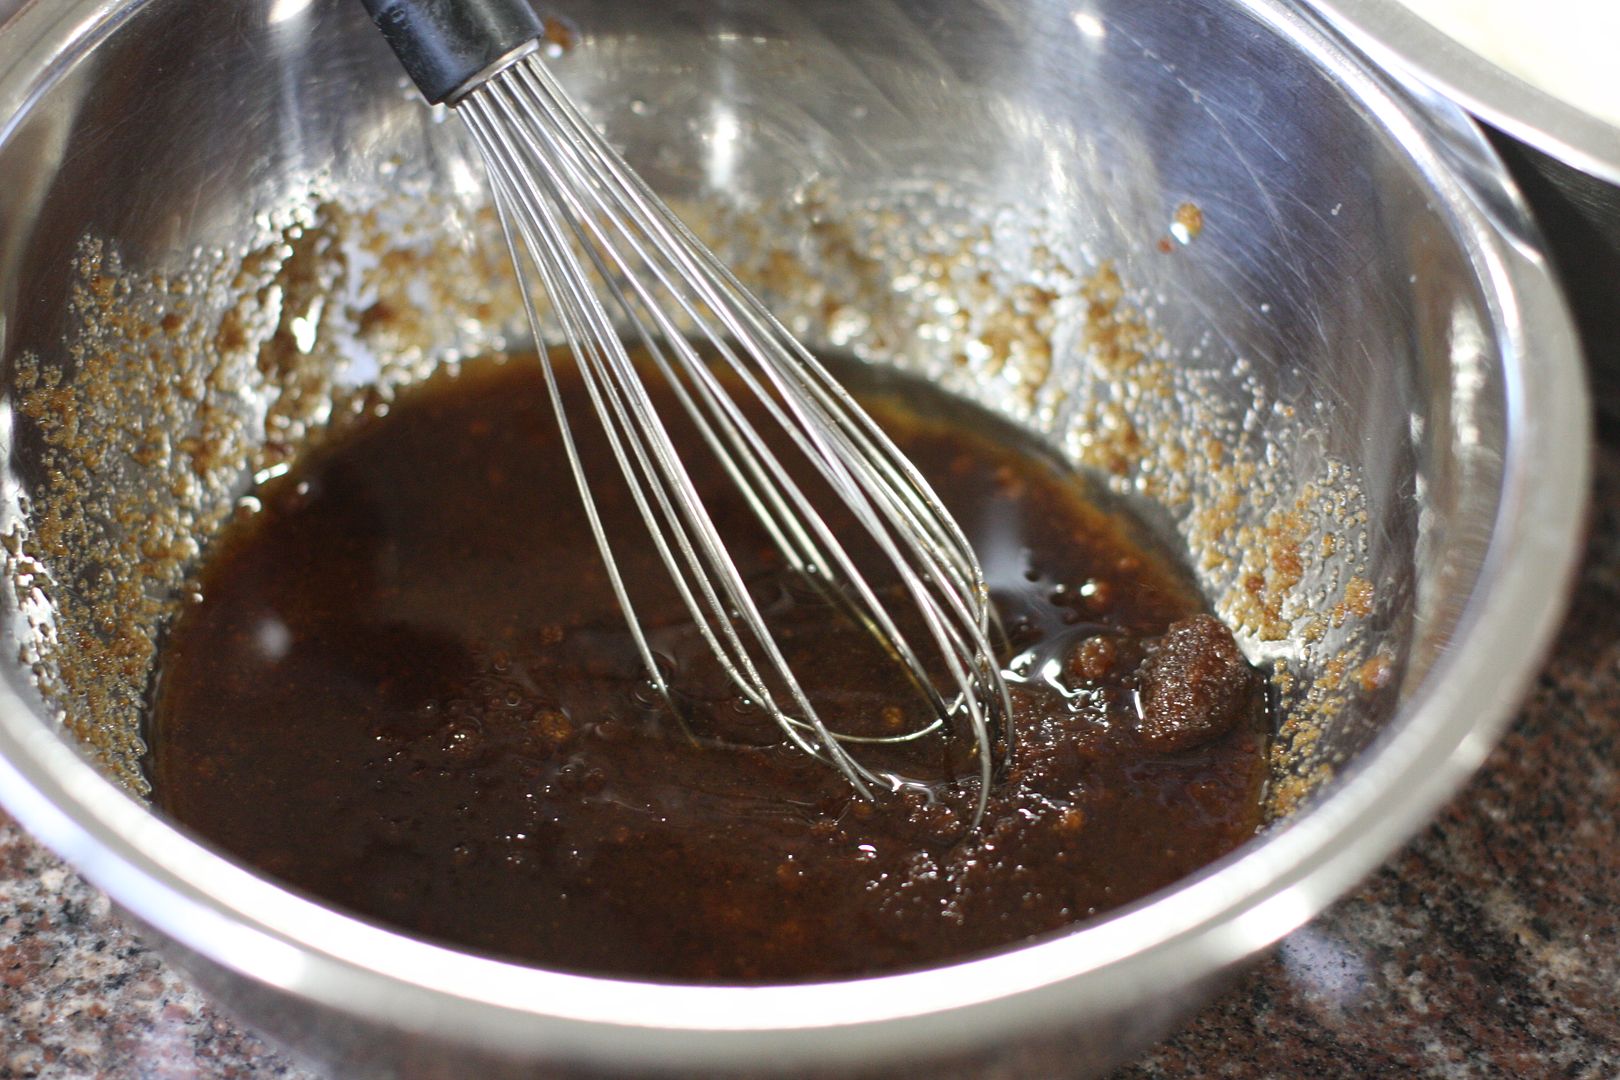 | 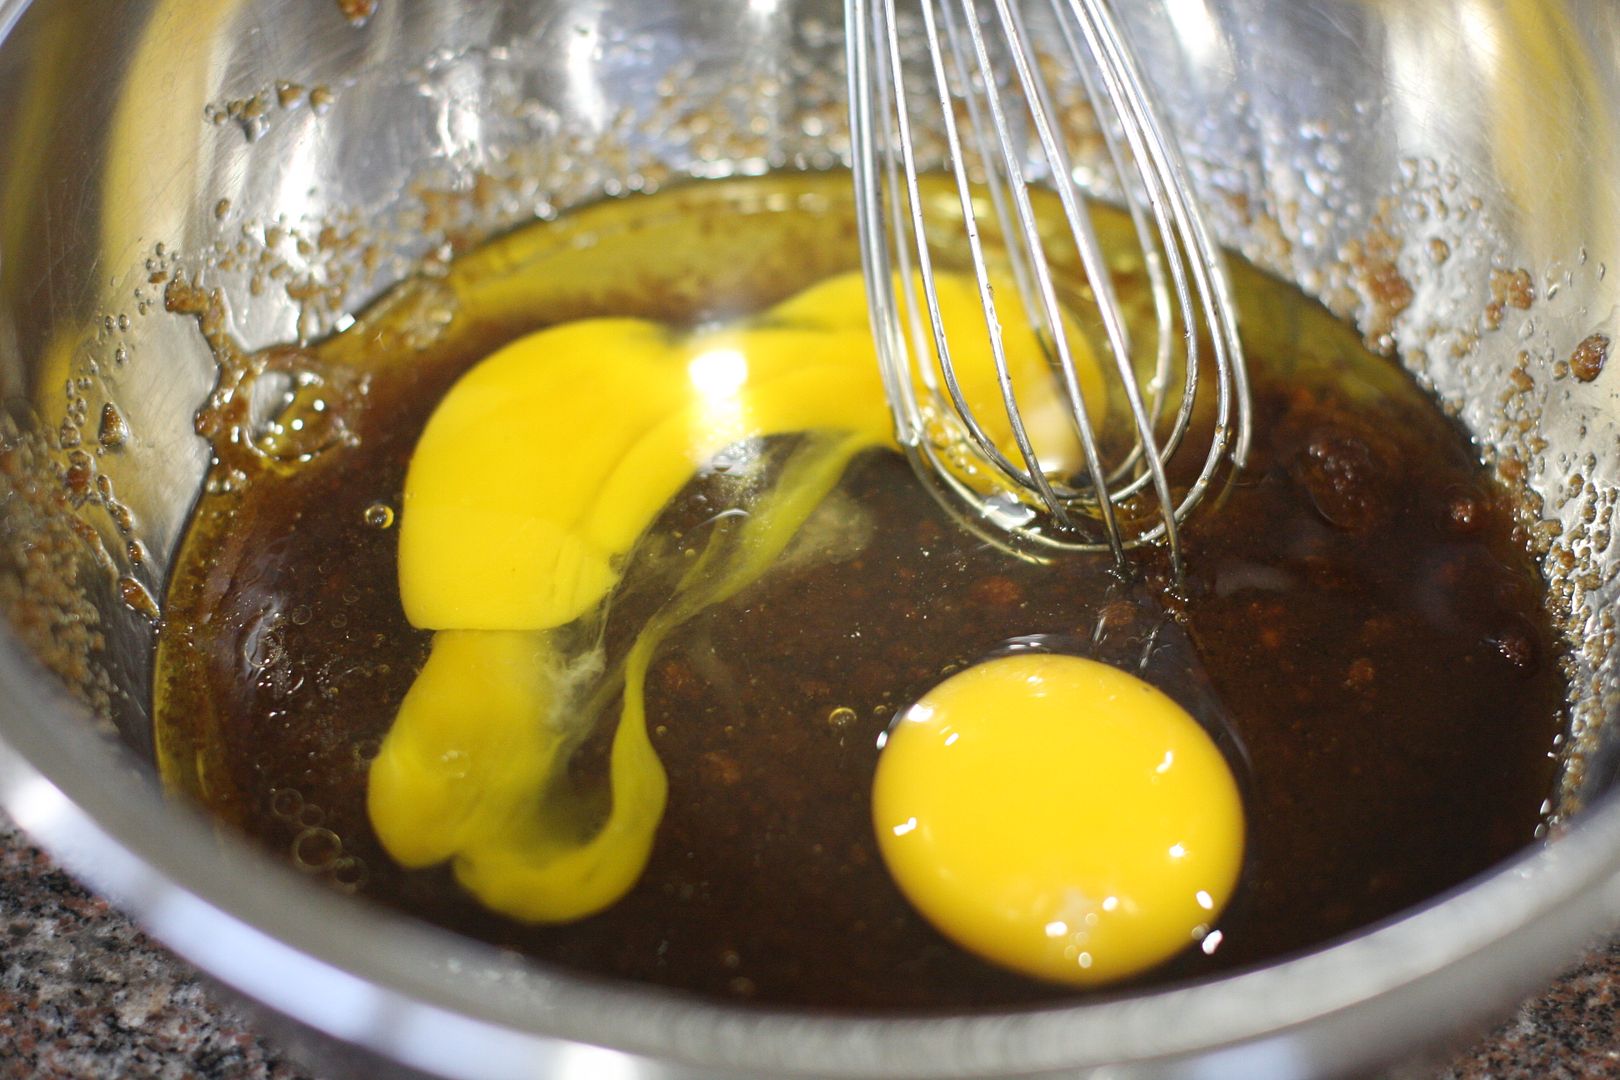 |
| Whisk the oil and jaggery. Add the eggs and whisk them altogether. | |
 | 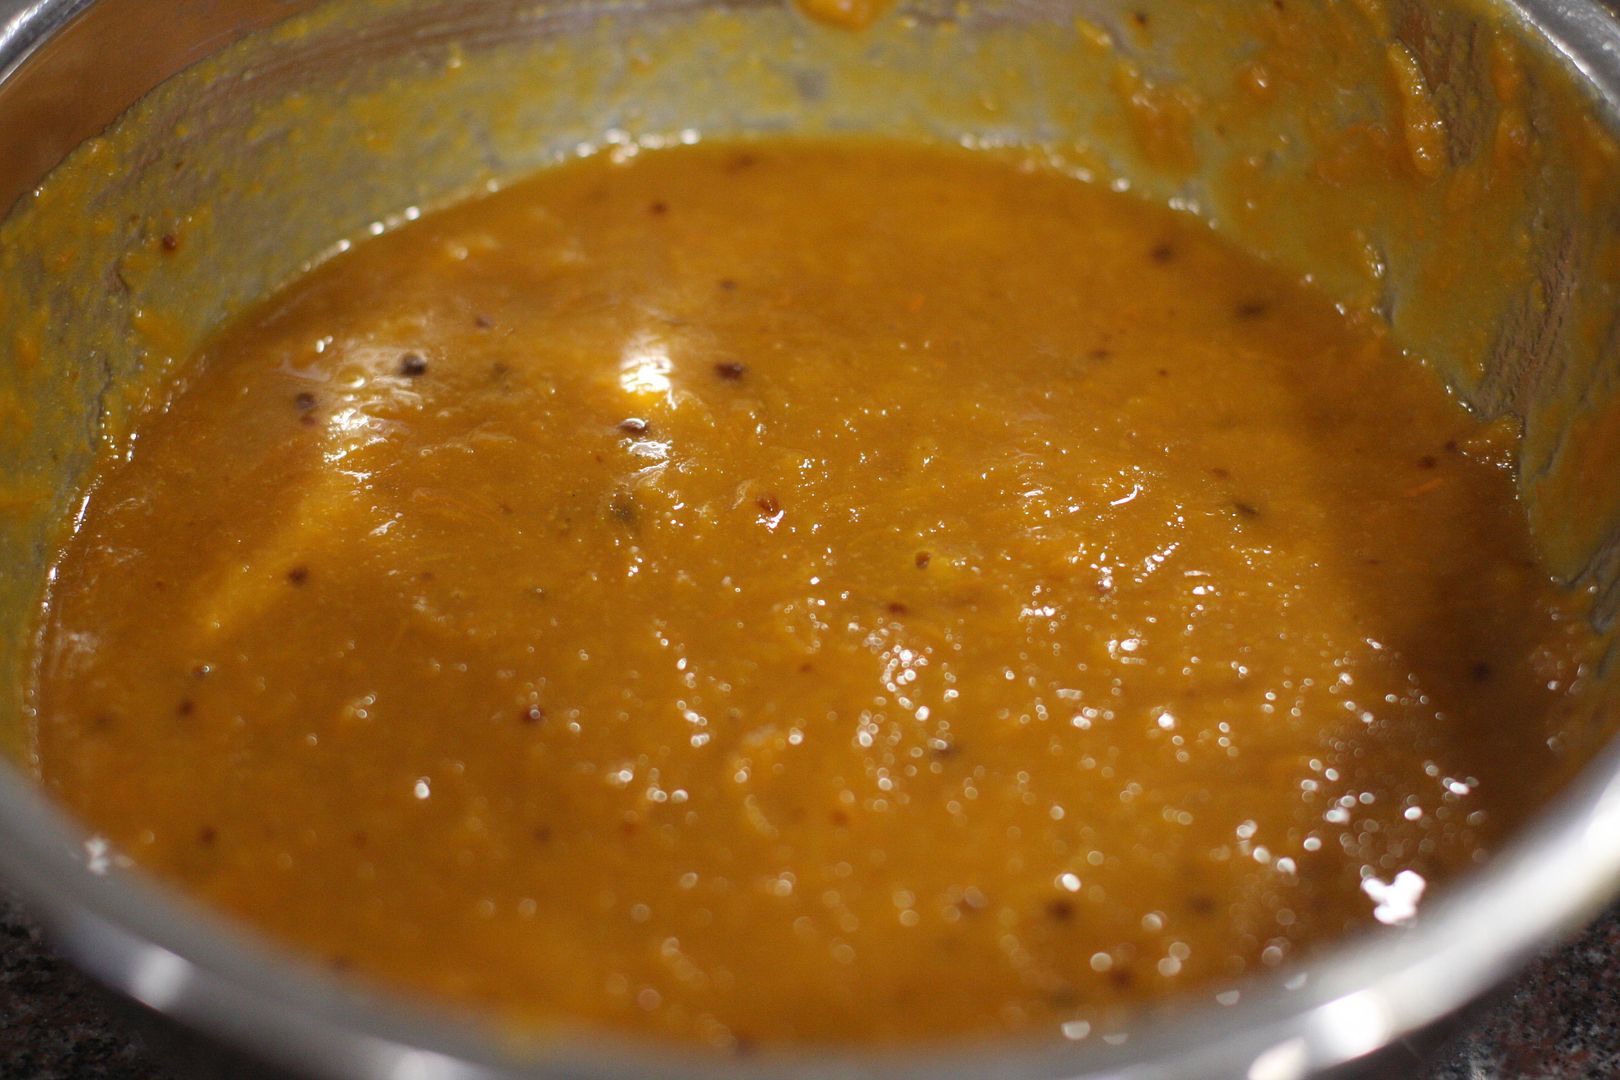 |
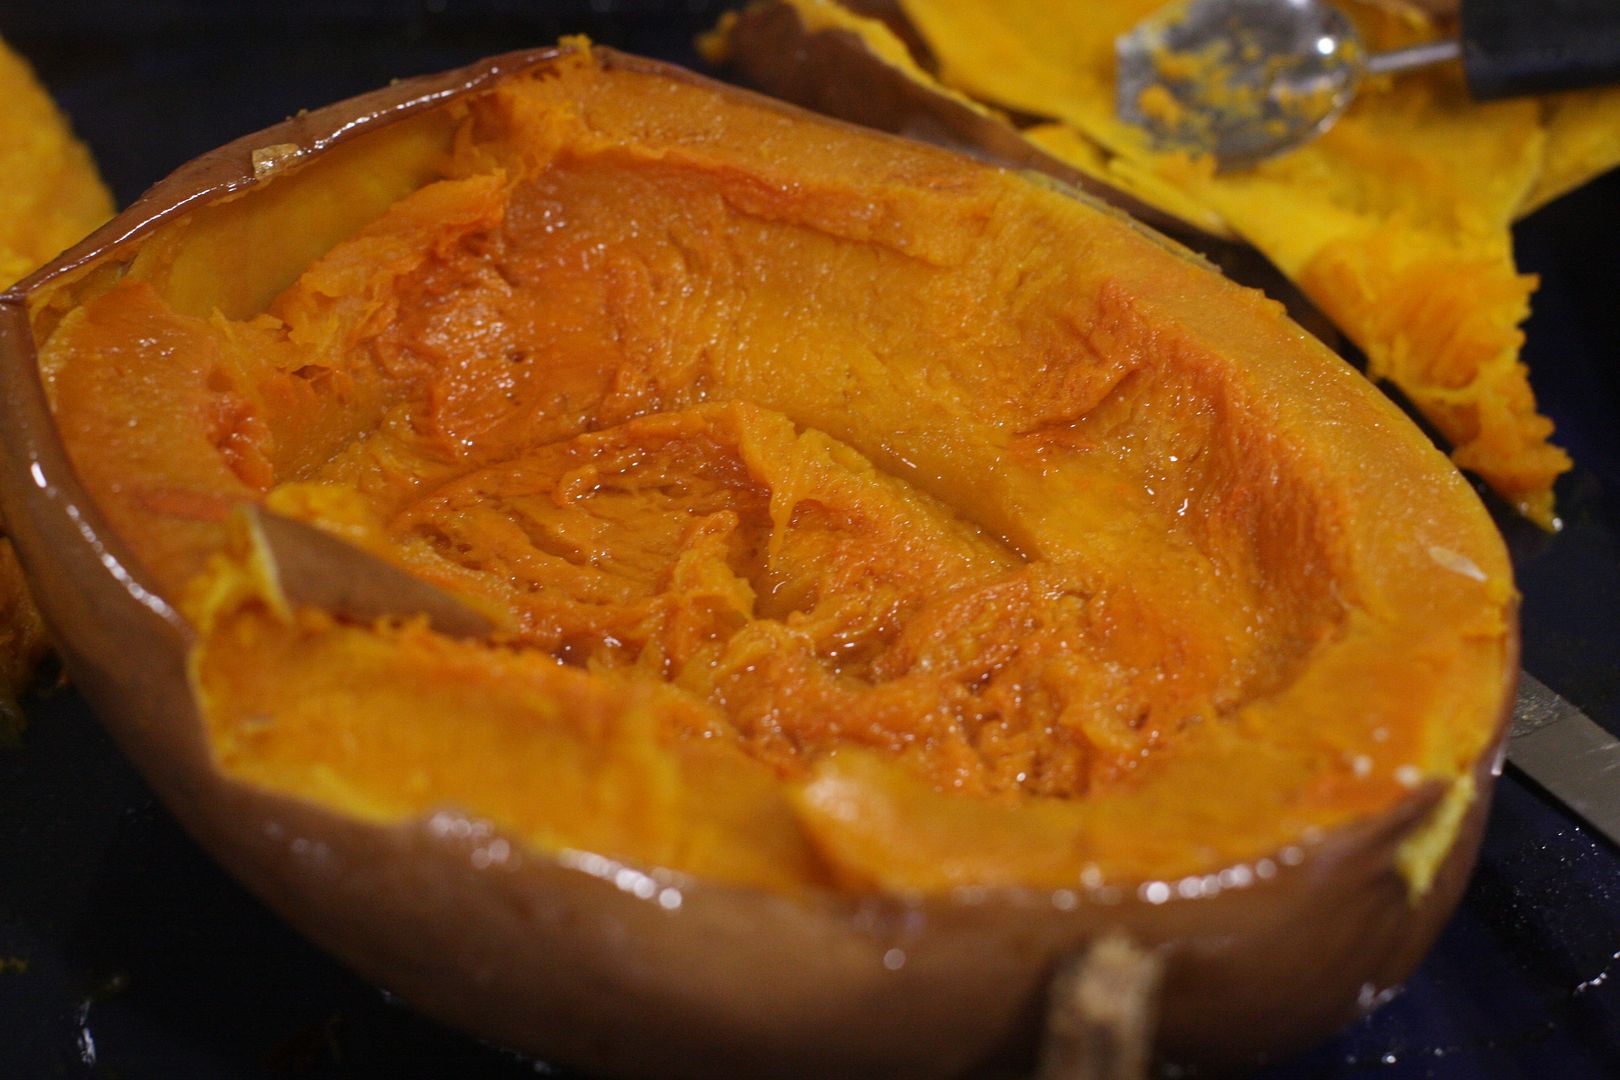
| Add the pumpkin into the egg and oil mixture. | |
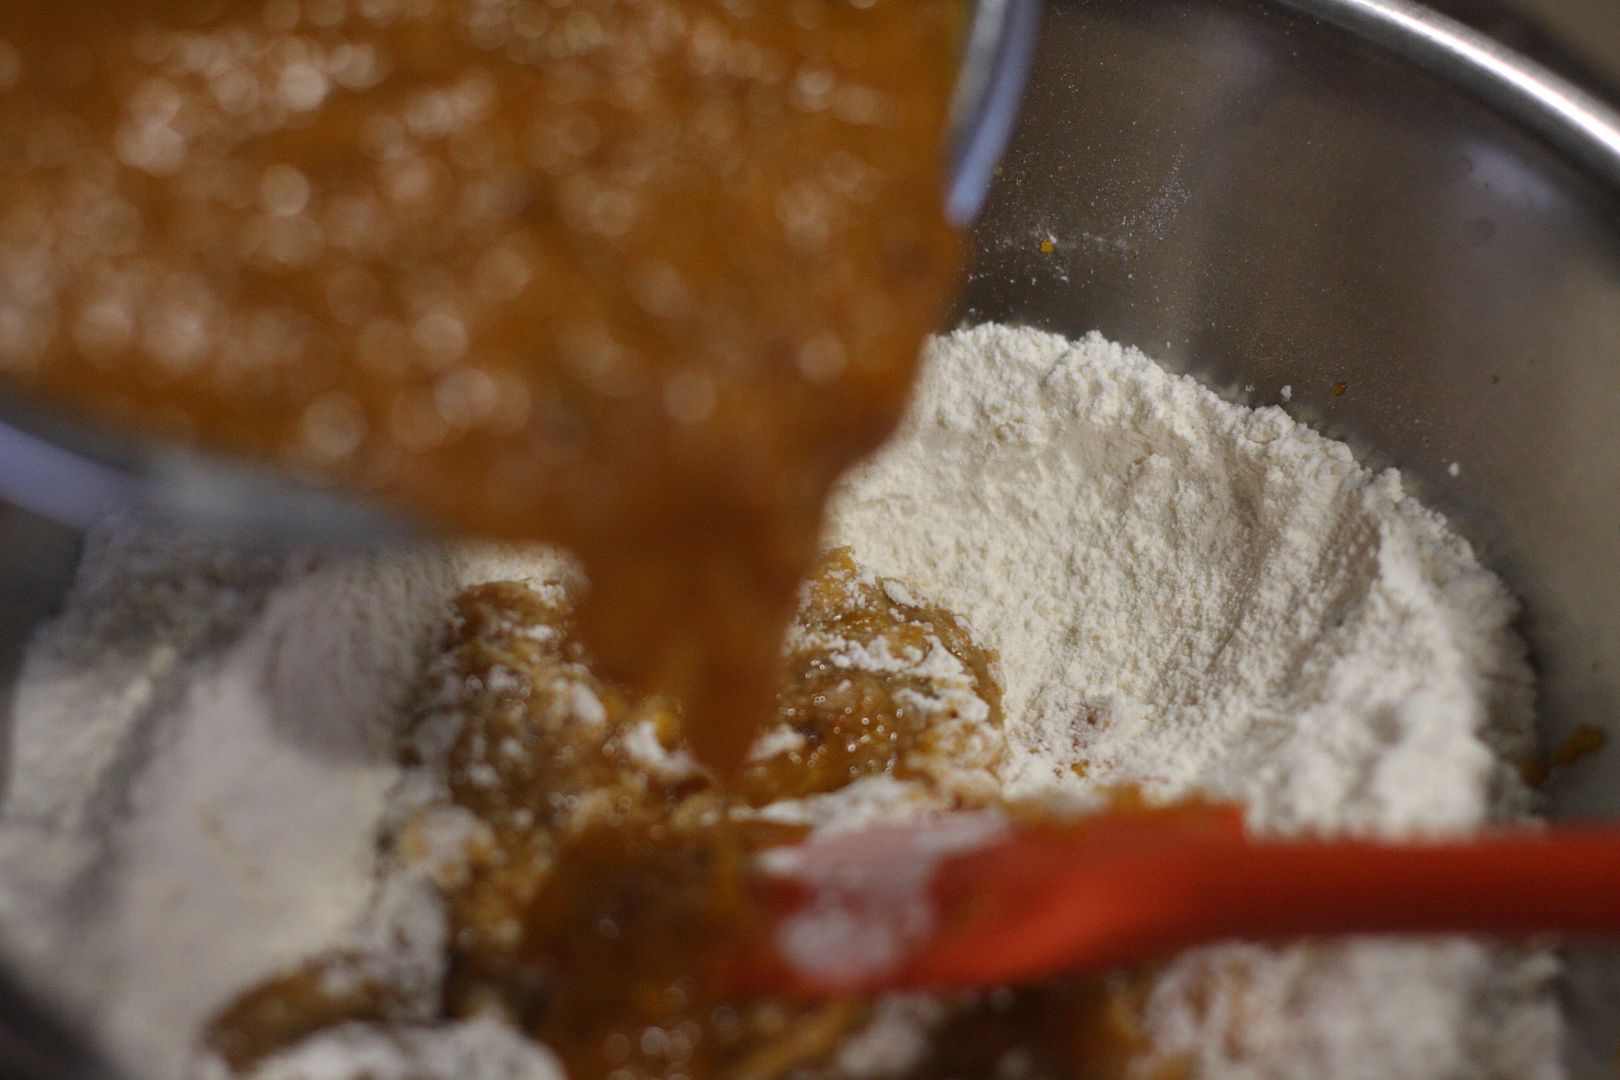 | 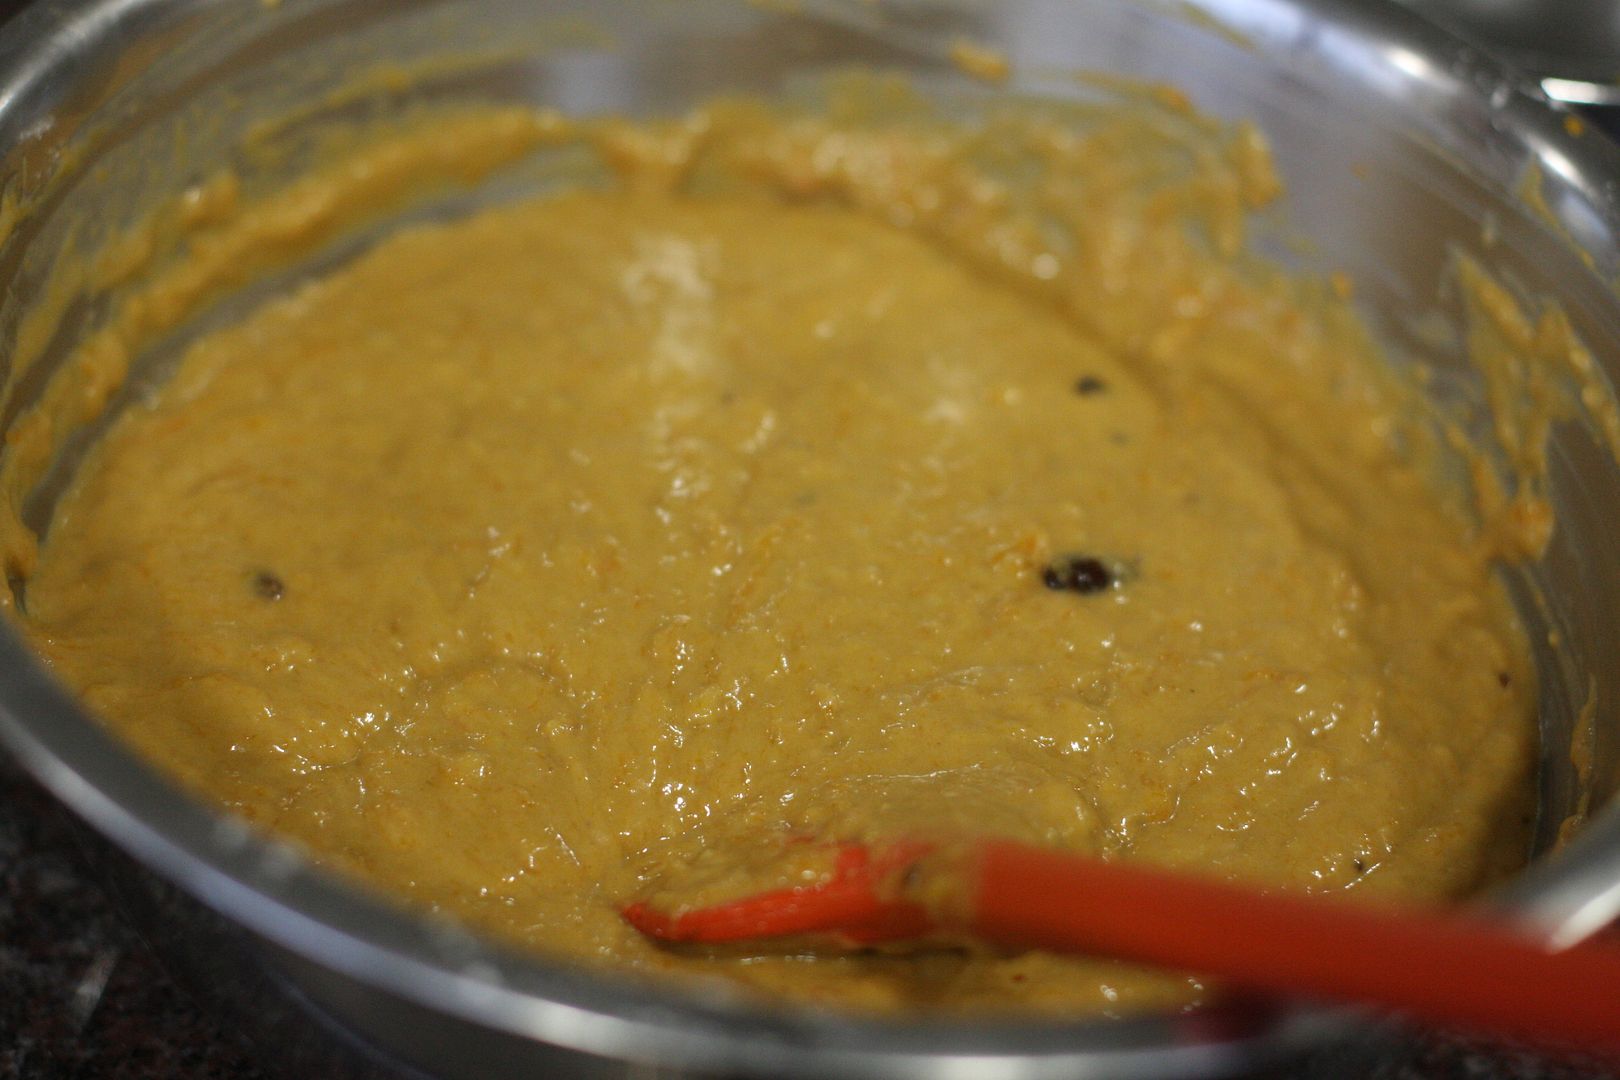 |
| Start adding the flour into the pumpkin mixture and mix it gently till incorporated. | |
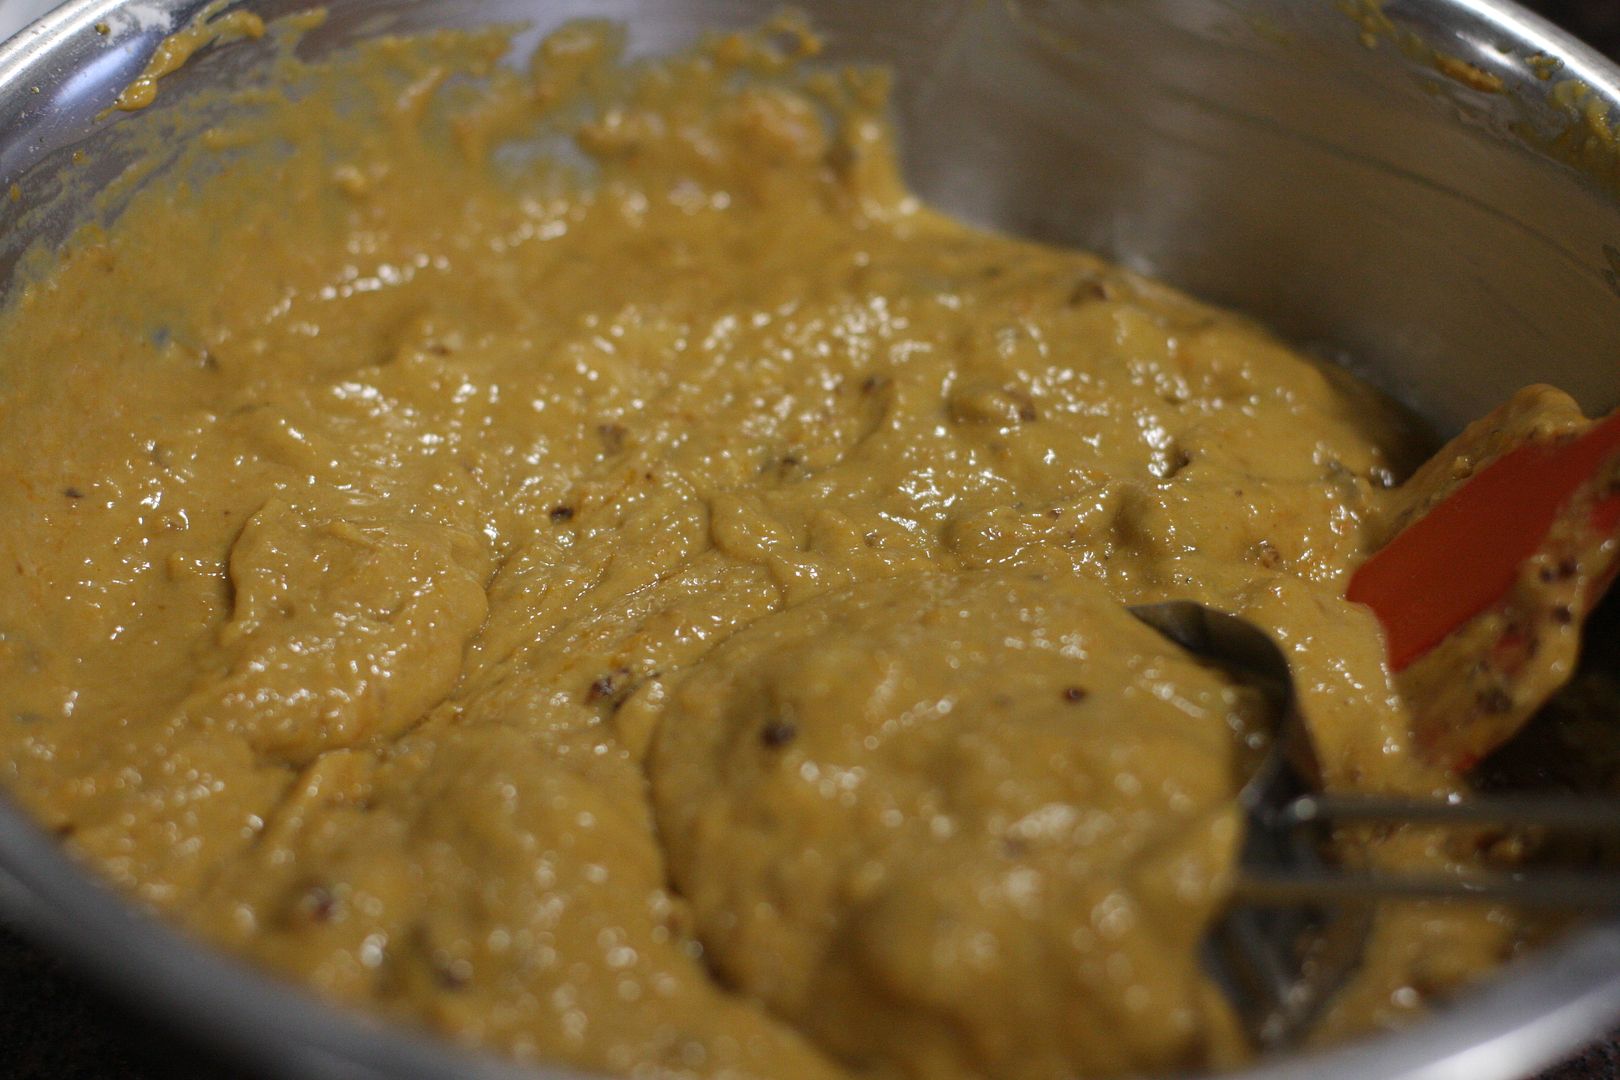 |  |
| Fold in the nuts and now spoon the batter into the ramekins. Add chocolate chips on top in a few of them. | |
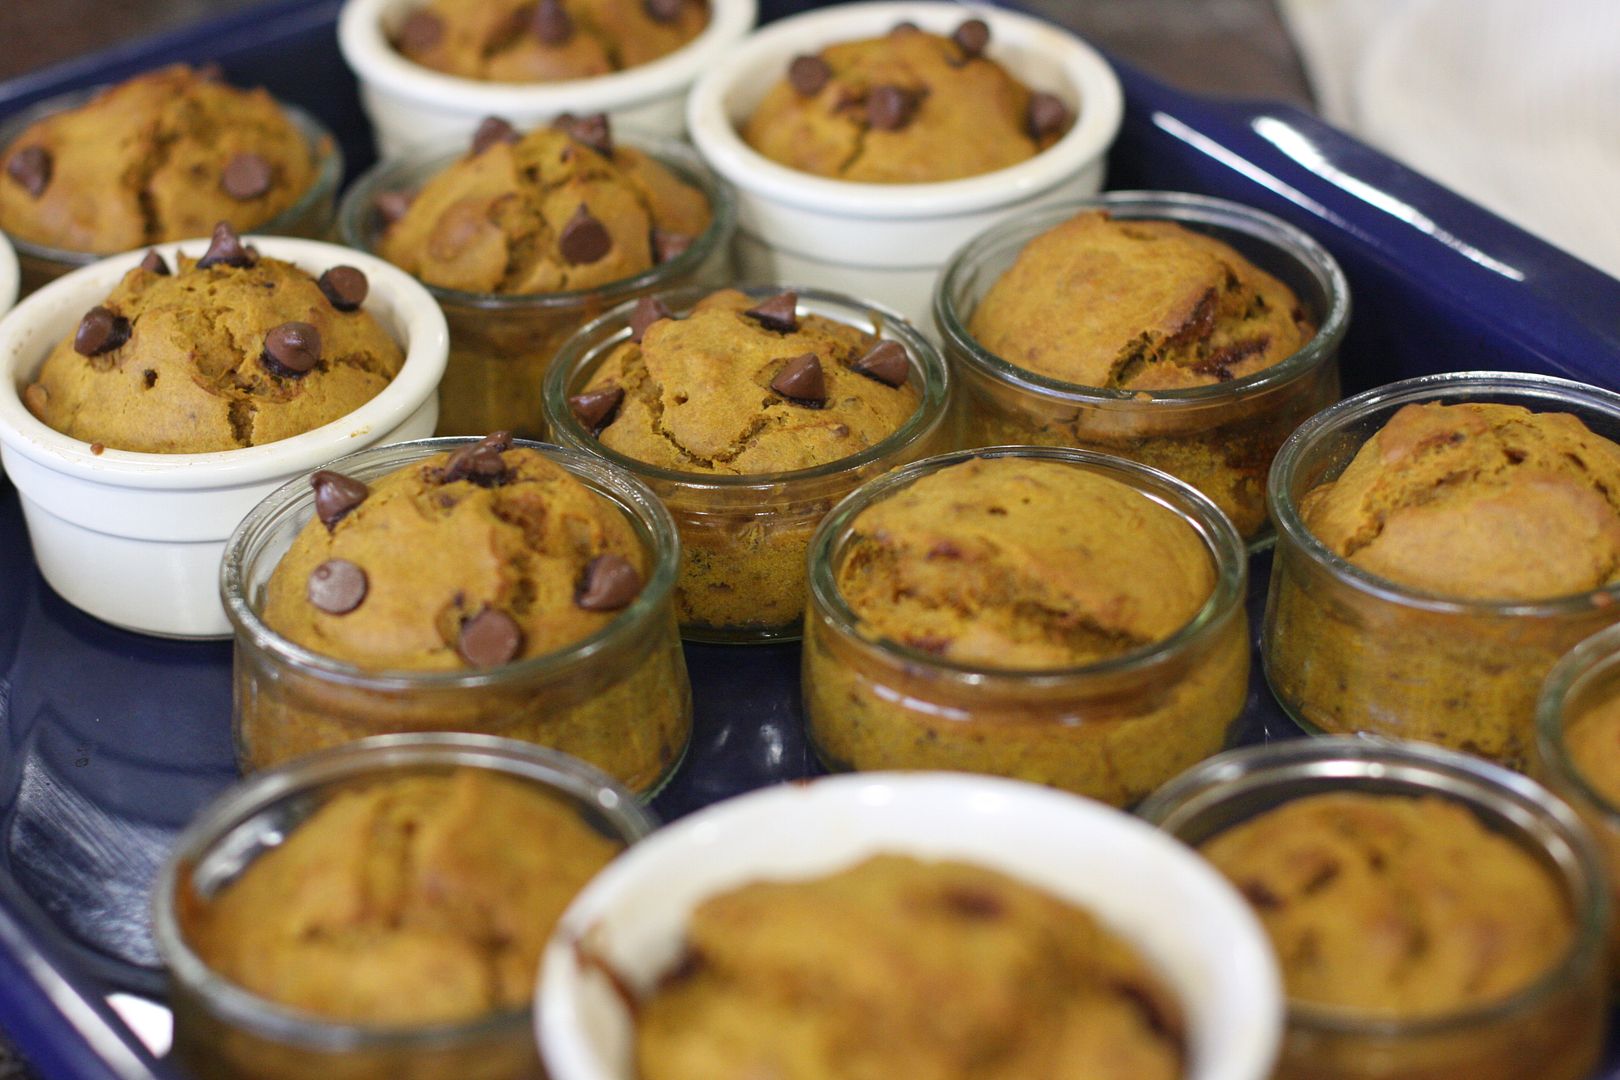 |  |
| Bake at preheated 350F for 15-25 minutes till a skewer inserted comes out clean. | |
Low Sugar Pumpkin Bread with Jaggery
Preparation Time:20 minutes
Cooking Time:40-50 minutes
IngredientsMethod
- 1 1/2 cups of unbleached all purpose flour
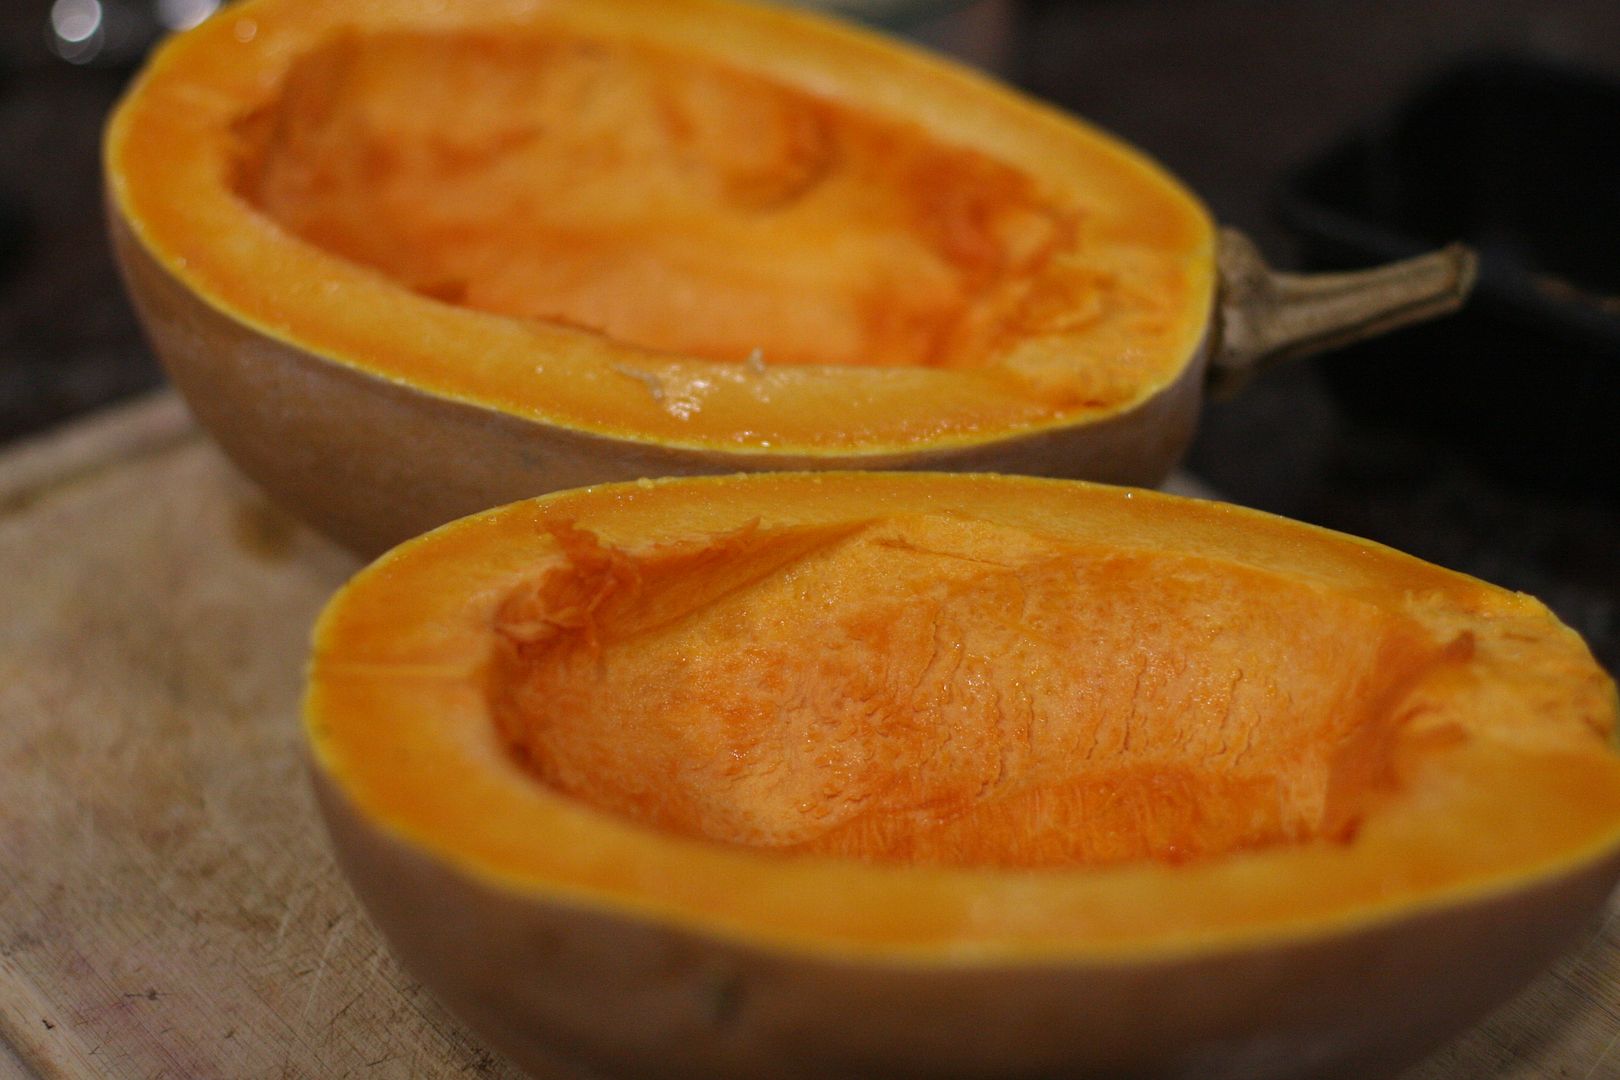
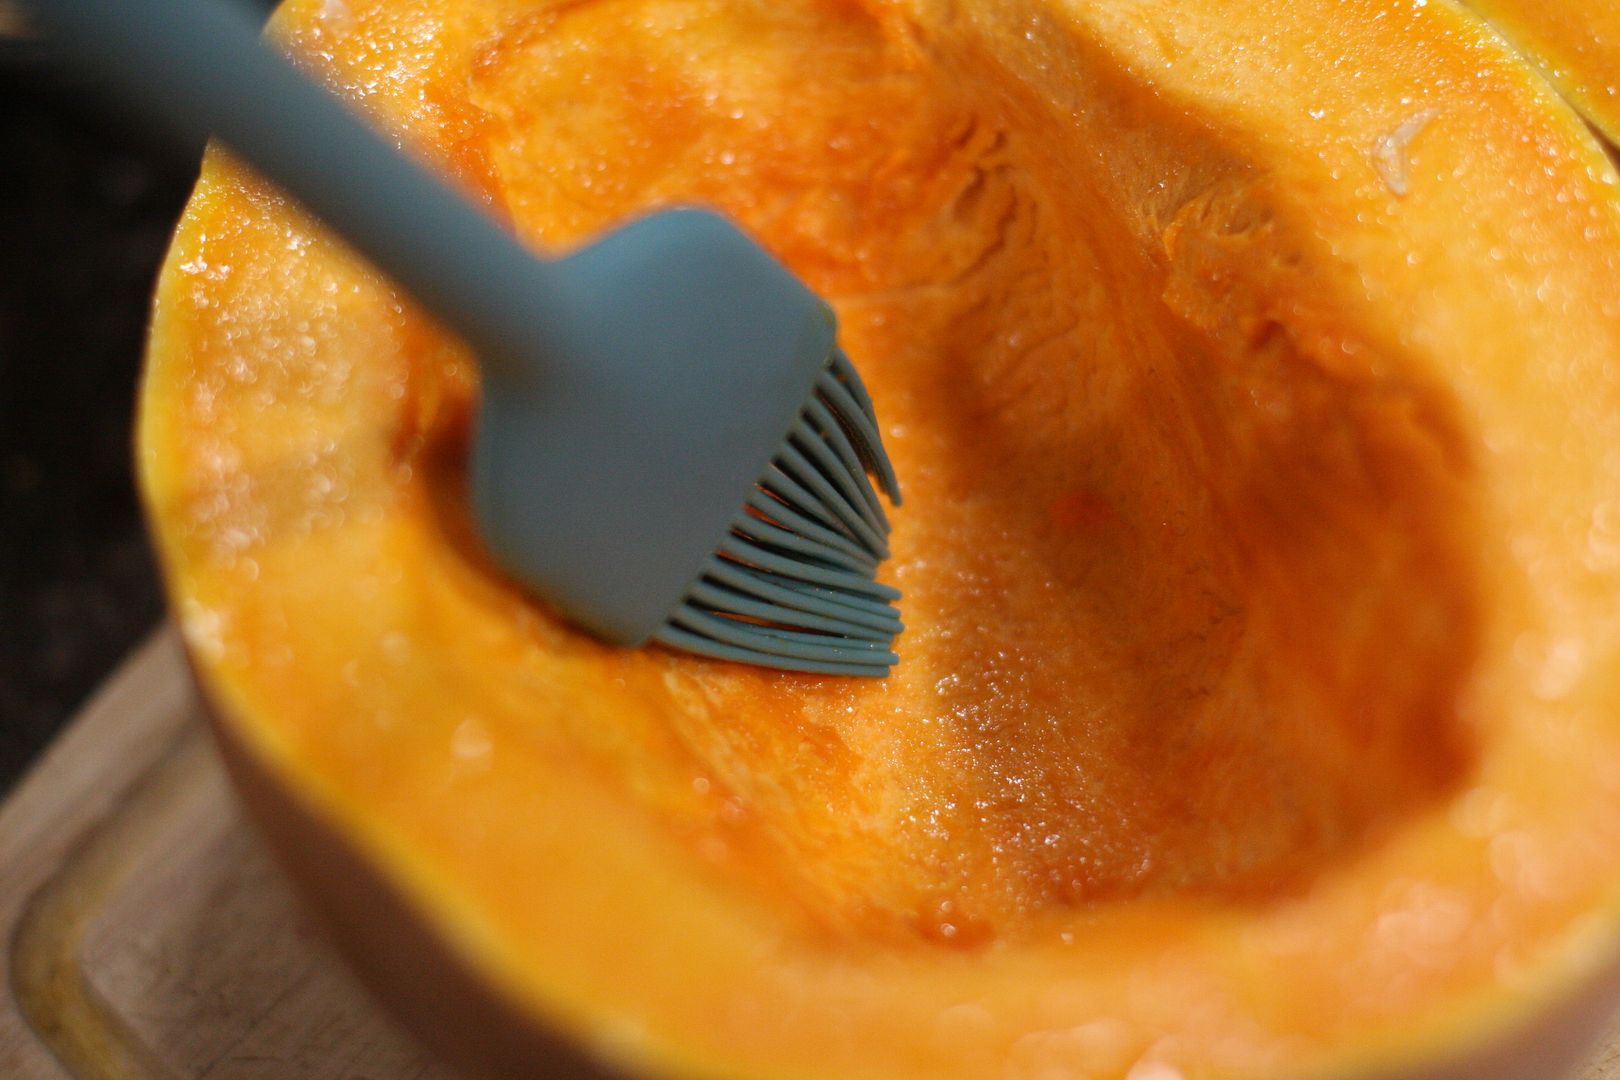
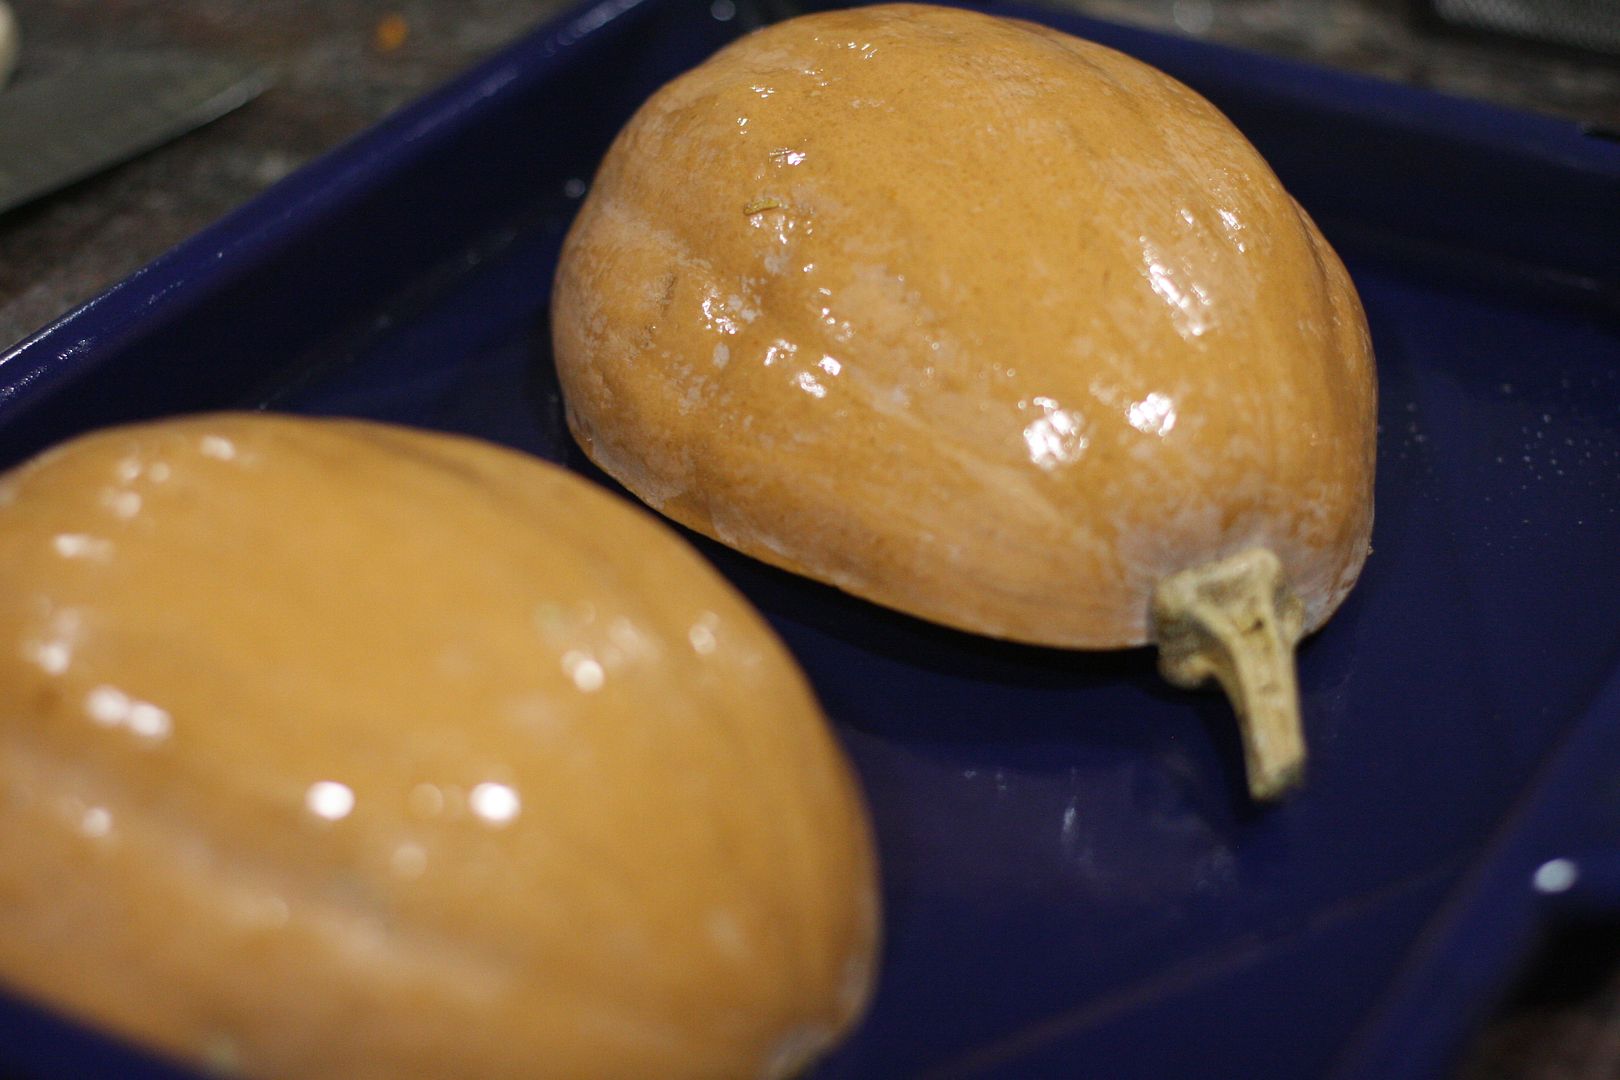
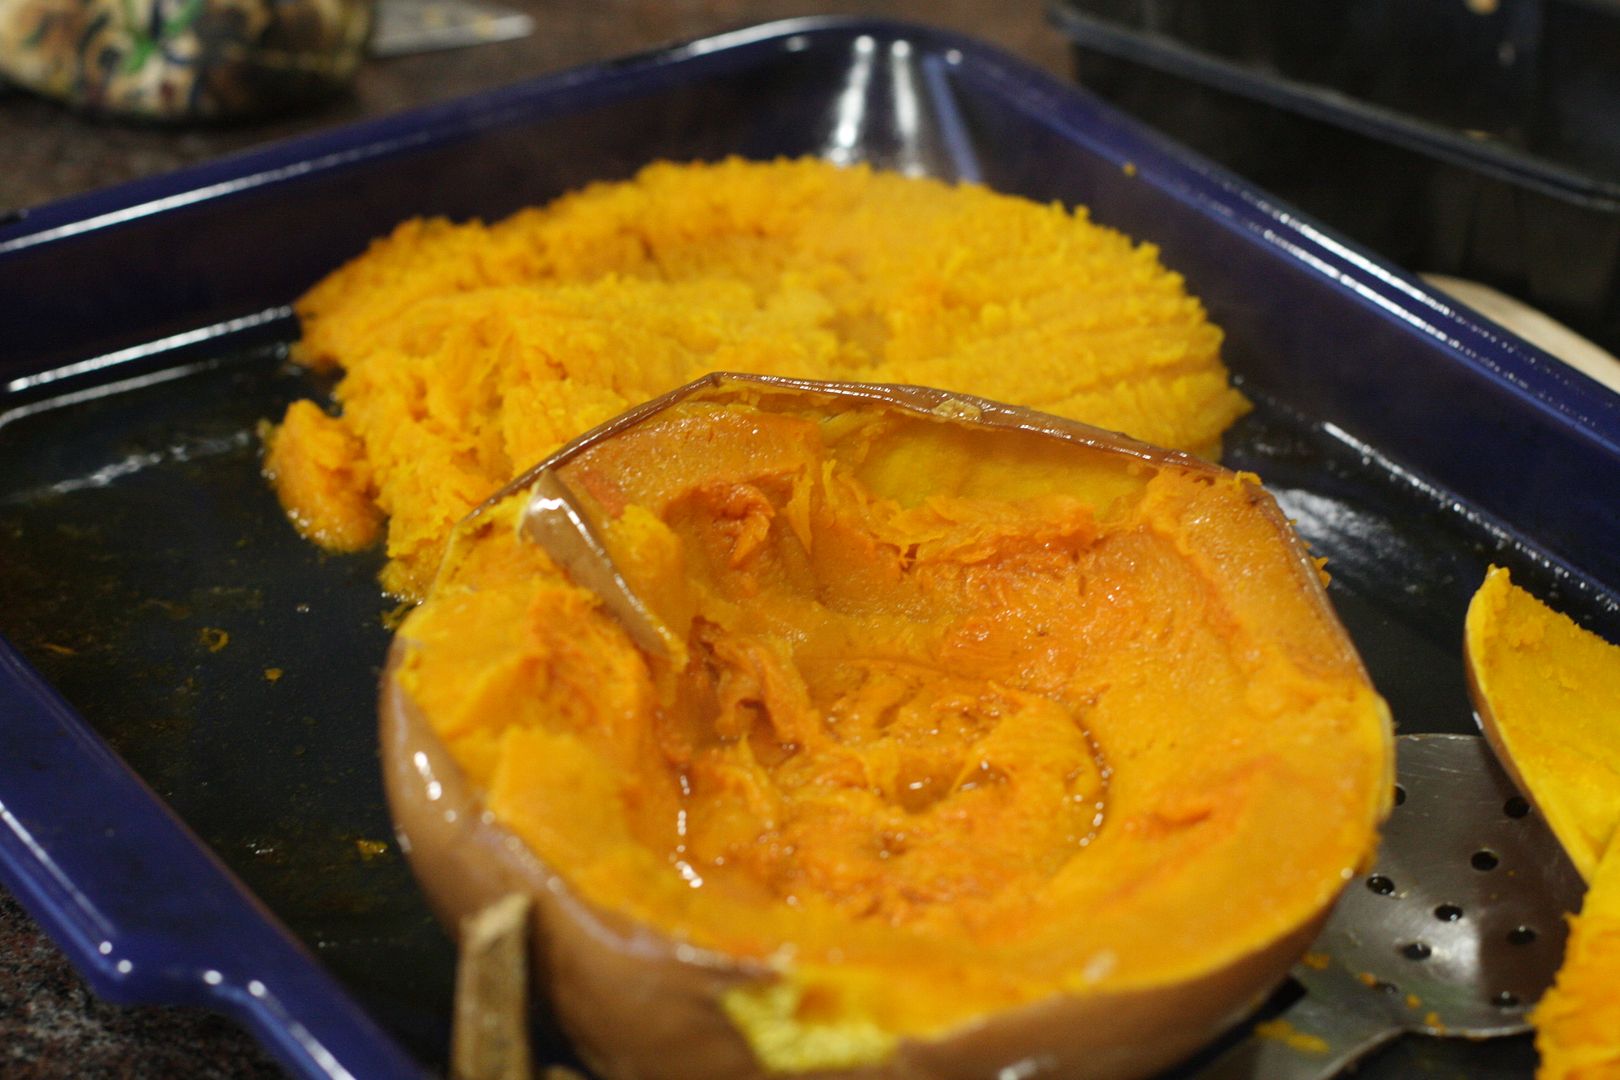
- 1 1/2 cups of pumpkin pulp (how to get pumpkin pulp)
- 1/3 cup of jaggery
- 1 1/2 tsp baking powder
- 1/2 tsp baking soda
- a pinch of salt
- 1/2 cups of roasted chopped pecans or walnuts (or a combination)
- 2 eggs
- 6 tbsp of butter + 1/2 cup of olive oil (or just 3/4 cup of just olive oil)
- 1/4 cup of semi sweet chocolate chips
- Preheat oven to 350F. Grease ramekins or the loaf pan in which you want to bake the bread.
- Sieve flour, baking powder,salt and baking soda into a bowl.
- In a mix bowl add the olive oil and jaggery. Add the eggs, and whisk it together.
- Add the pumpkin pulp to the eggs and mix well.
- Now gently fold the flour into the pumpkin mixture till all the flour is well incorporated.
- Add the nuts.
- Spoon in the batter into the ramekins and bake for 15 minutes, check and bake for 5-10 minutes more if required.
- Add some chocolate on top on some of them if preferred.
- Cool and save them in containers. They stay good outside for a couple of days and refrigerate the left overs. Warm a bit before eating.
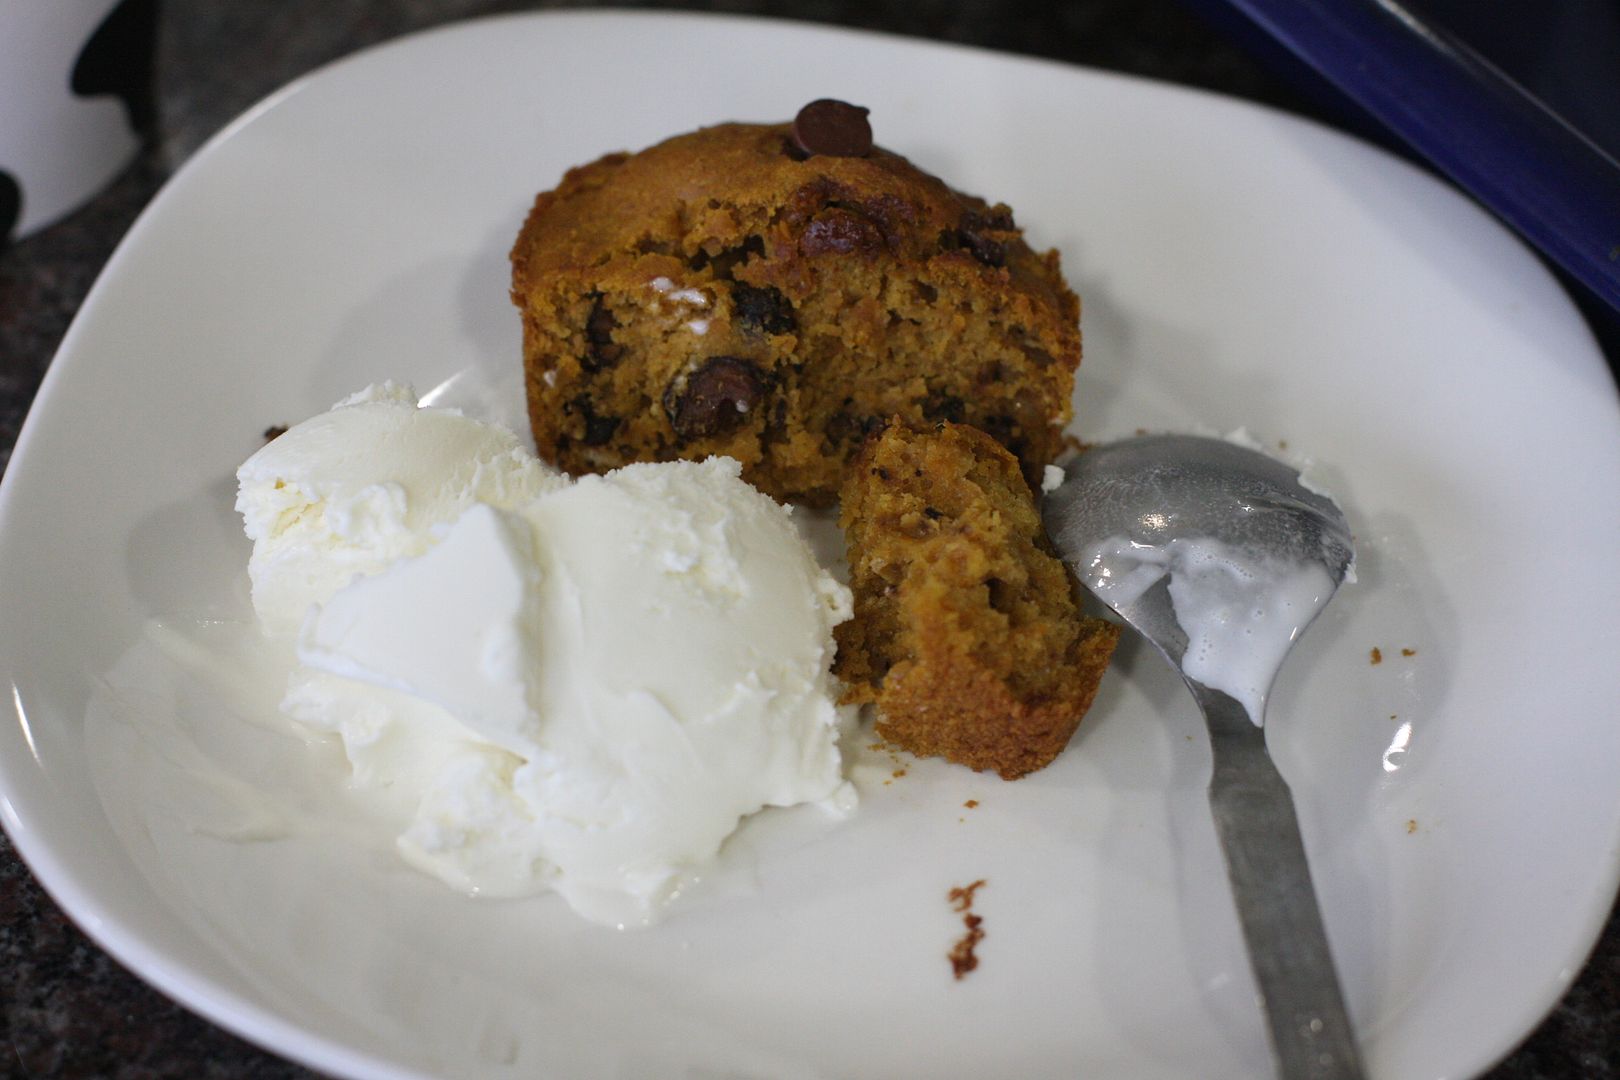
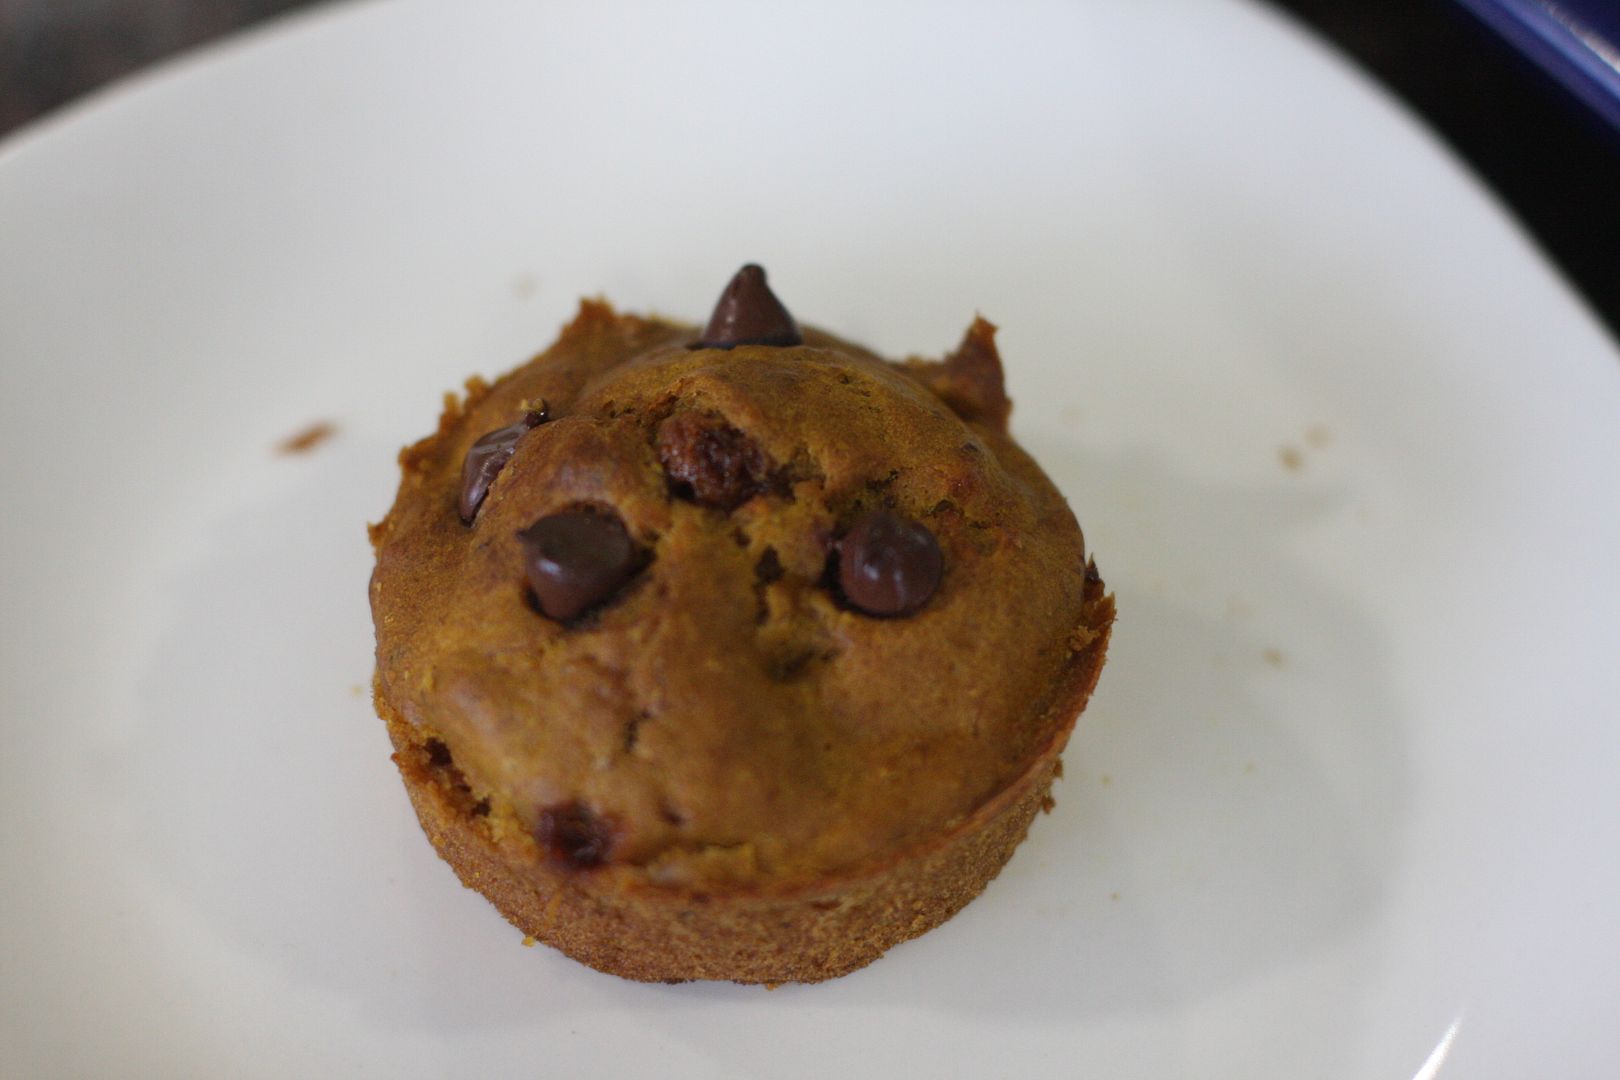
Warm up the bread a bit and serve with some sweet cream or vanilla ice cream :).
 Like what you are reading? Subscribe!
|
|
|
|